This Super Simple Homemade White Bread can be ready in under 2 hours and with minimal ingredients. Start your oven!
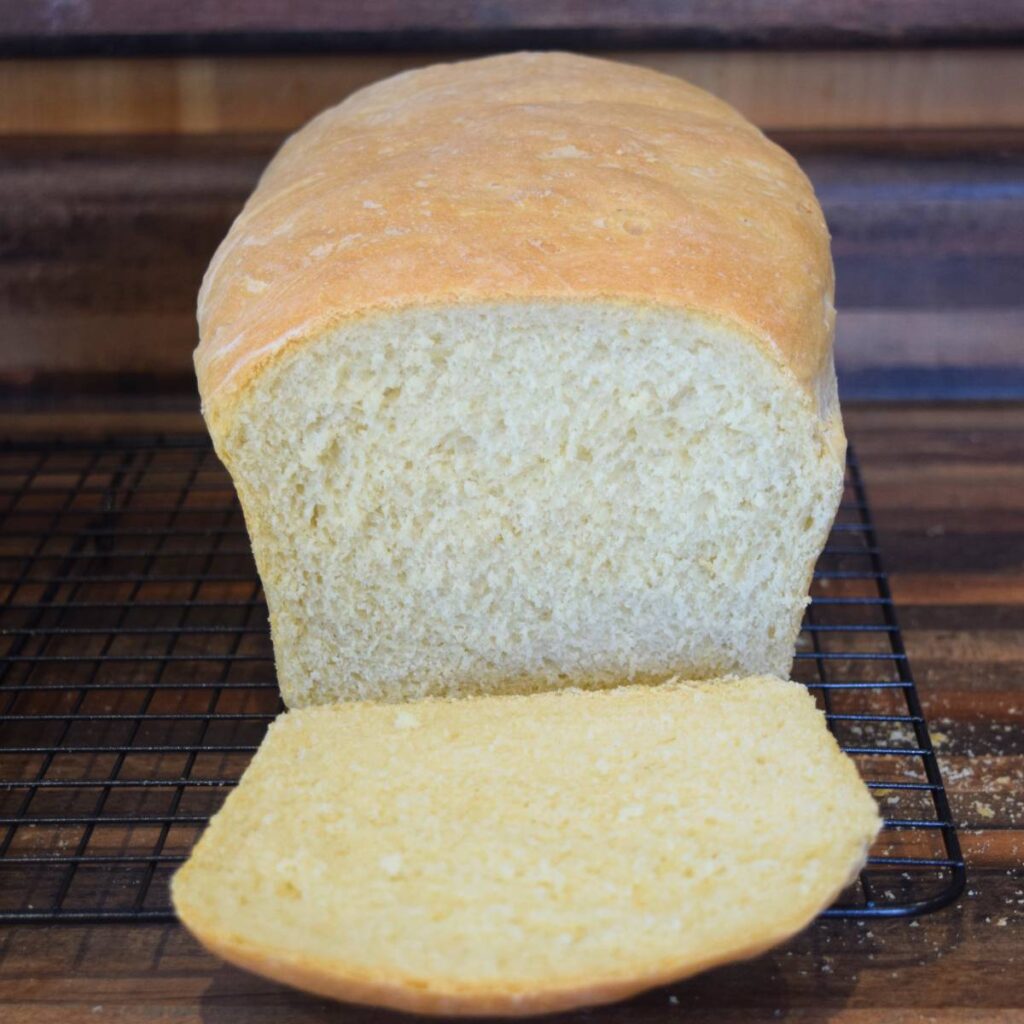
Nothing smells like home more than fresh bread baking in the oven. Who said it had to be hard!? All you have to do is try and I promise you will not go back to any of that store bought stuff! It does not require an expensive mixer but if you have one great! I learned by hand and honestly I like it better that way.
Yes, it does require some effort but we all know anything that is good requires a little elbow grease. I promise once the oven beeps everyone will be hovering with the butter ready to slather it on a fresh, warm slice! My favorite piece is the heel because the crust is just so dang good ! My mouth is watering just typing this!
The shelf life of this Super Simple Homemade White Bread is about 3 days (if it can last that long in your house) which is something I have come to really appreciate because what the heck is in the store bought stuff that it lasts at least double the amount of that time!?
This is what led me on my bread journey! I started making bread when I was off on maternity leave with our 3rd child. I am always looking for healthier/homemade alternatives to anything store bought and let’s be serious packing up 3 kids to go to the store to get a loaf of bread is just NOT worth it !! Turning on the oven versus strapping in 3 kids fighting seatbelts? Smarter not harder is my motto!
So I tried a few recipes and failed my first few attempts because it just seemed too complicated or too many words with techniques I didn’t understand. Well after finally getting it I realized it was not near as complicated as it was made out to be nor as time consuming as I thought it would be.
I have also halved this recipe, used less butter (even used oil in it’s place),used less sugar or adjusted times and it still turns out great! Don’t let a dwindling bag of an ingredient stop you from trying! If you have to adjust it, yes it won’t be quite the same as the original recipe but to your family it will still be special because YOU made it!
I am not a perfectionist, more of a casual cook/baker with a main focus of feeding good healthy food to my family. I am however, a fan of using the same recipe with the same ingredients (sometimes a few extra) but then levelling it up to create something a little different and equally if not more delicious. I mean if we are going to buy the ingredients we cannot afford to waste anything with the price of everything am I right!? My Super Simple Homemade Cheesy Buns and dinner rolls are a twist on this same recipe.
For me, this Super Simple Homemade White Bread was the gateway to making as much as I can from scratch because it all just tastes SO MUCH BETTER and my kids and husband will attest to that !
Everyone makes bread a little differently I have found, but to me this is the easiest way, with also the least amount of dishes to clean up after which is an added bonus! I like to use a 4QT glass bowl for most of my recipes and this is no exception.
Your temperature in your house will play a role in how your bread rises, so if your house runs on the colder side you can always let it rise in the oven with just the light on (please do not turn the oven on as you will make an awful mess to clean up). That little light believe it or not will create a great, controlled environment for the yeast to thrive and grow. Weather/moisture in the air will also play a role in assembling your dough so no doubt your flour measurement will be slightly different every time you make it.
And lastly the type of flour you use will also play a role in how your dough comes together. A finer flour like Boreal Organic All Purpose flour from Costco will require a little more than just your regular Robin Hood AP flour.
It may take a few tries to understand the consistency you are looking for but once you got it, you got it !
So let’s start! Grab your glass dish and throw in the 3tbs butter and melt in the microwave. (In mine about 20-30 seconds).
Stir in 1.5 tbs sugar and mix until the sugar is dissolved.
Add 3 cups warm water – not hot it will kill the yeast, trust me I speak from experience 🙂
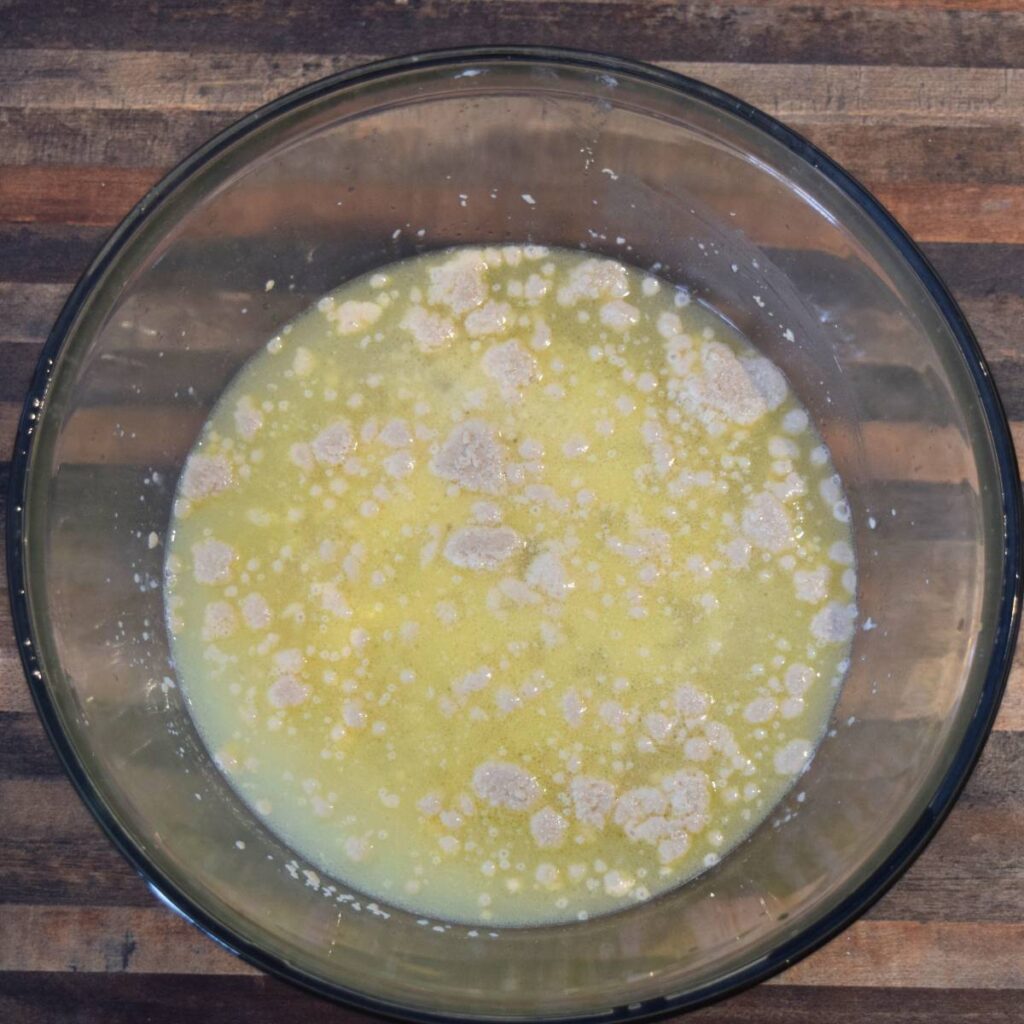
Sprinkle in the 1.5 tbs quick rising yeast and give it a quick mix. Now you can let it be and bloom/grow!
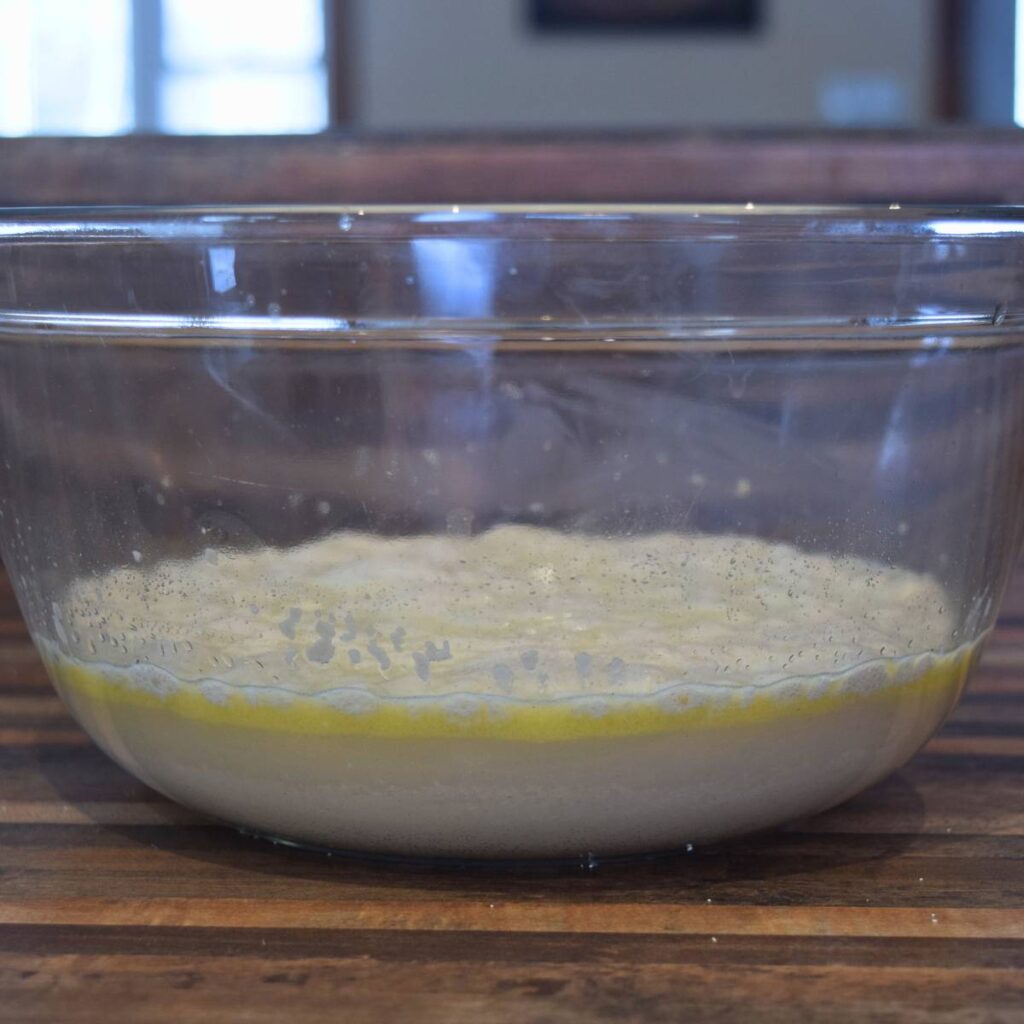
This will take roughly 10-15 minutes but again will vary depending on the temperature of your home.
We are a hiving home so I often opt for the quick rise yeast to speed up the process (usually after I get the kids to bed is when I remember or realize I need bread for sandwiches or breakfast the next day).This recipe can totally be used with traditional yeast you’ll just have longer rise times and slightly longer time for the yeast to bloom. About double the time.
Once your mixture is looking frothy like, scoop in your flour, starting with 7 cups (adding more when required). Sprinkle your salt on top and mix altogether with a spoon.
Once you have a shaggy like dough it’s time to put in some elbow grease and get your hands a kneadin! You may need to add a little more flour before even getting your hands in. If it’s really sticking to the spoon that’s a good indication more is needed.
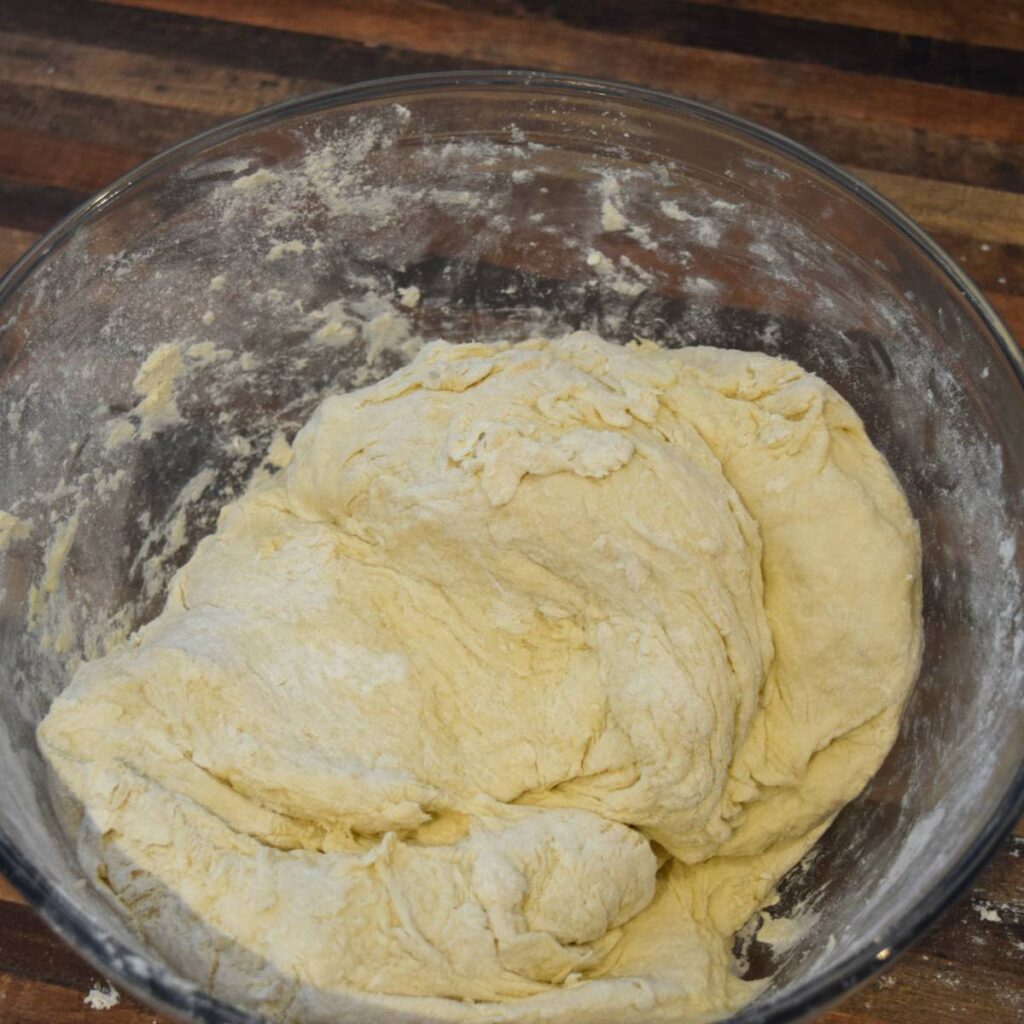
I like to use the bottom of my palm to push the dough and then fold over. Repeating until a ball starts to form. It’s hard to give an exact time this will take as it’s mainly by feel but roughly 5 minutes or so. Basically once the dough isn’t sticky and all little bits and pieces have been combined and it’s looking smooth. If more flour is required sprinkle small amounts at a time on both sides and mix in. If it gets too dry I just sprinkle a little bit of warm water at a time to get it back to where it needs to be.
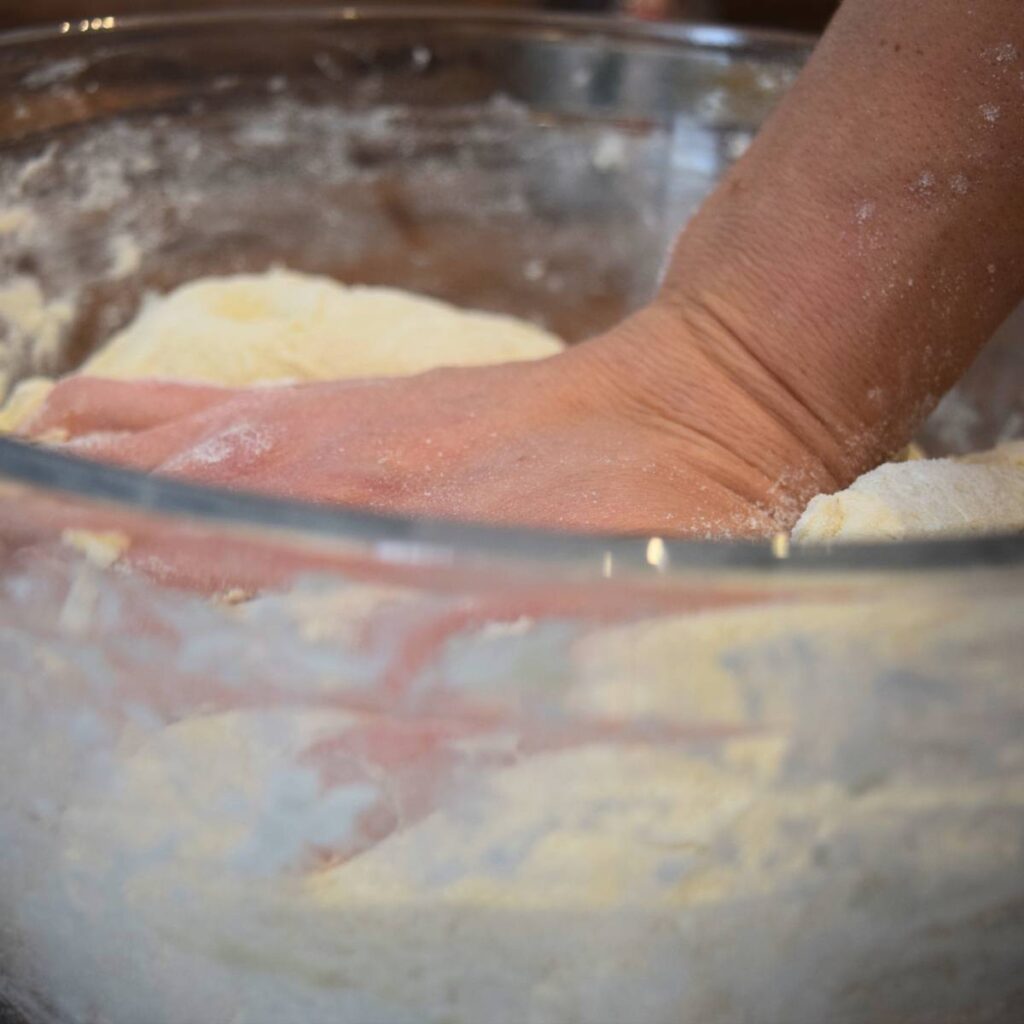
Once your happy with your dough ball always push your index and middle finger in lightly to see if the dough bounces back and if it does grease the bowl with some olive oil and put the dough back in the bowl to let it rise! Cover with a dishtowel.
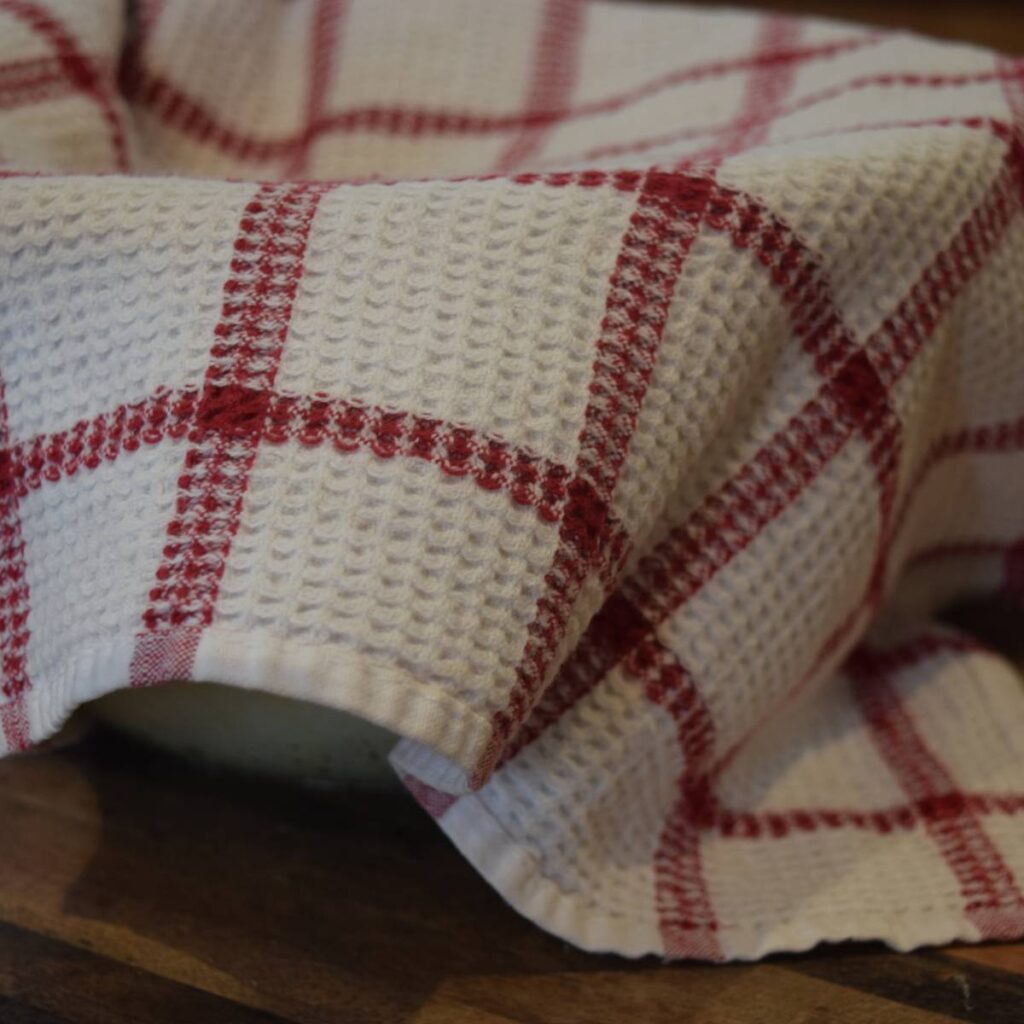
With quick rise yeast let it rise for 30-45 mins (until it doubles in size), with traditional it will be about double time.
While the dough is rising, grease your bread pans or line with parchment paper.
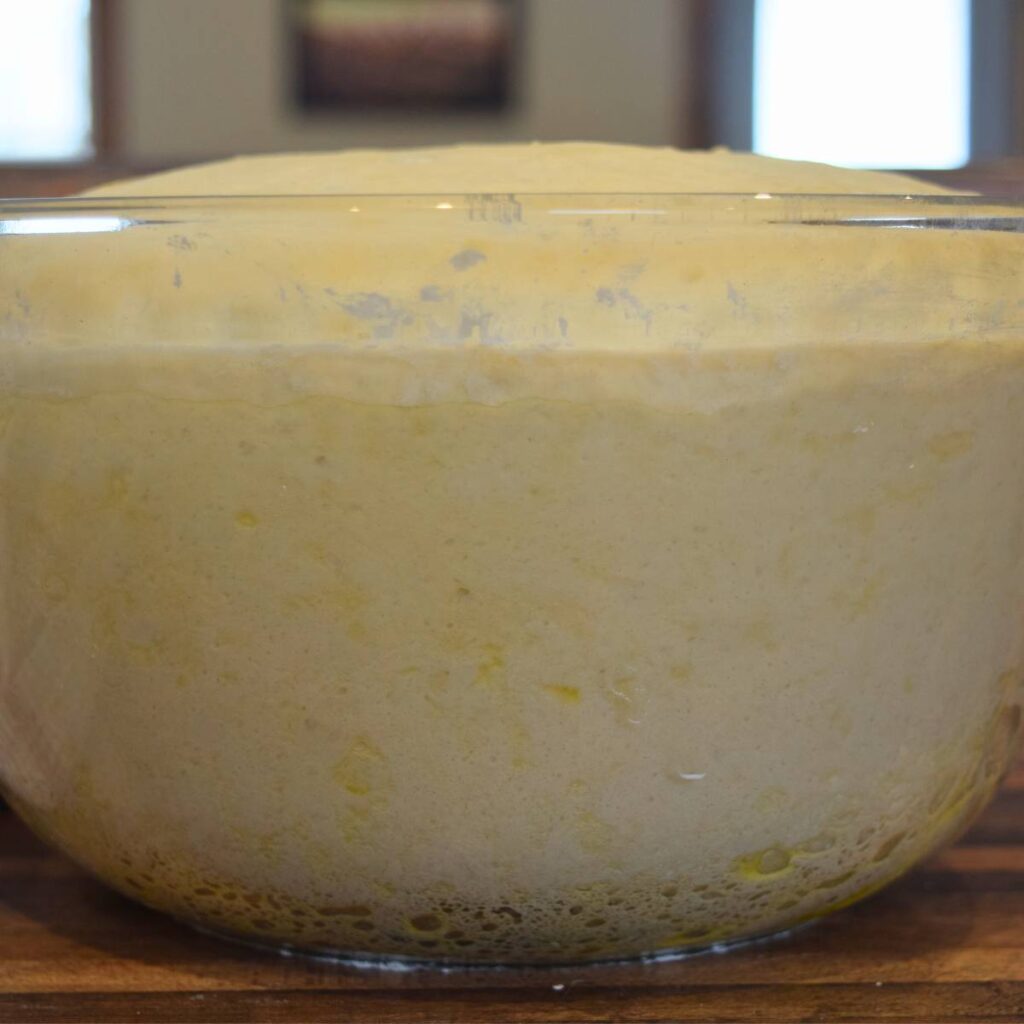
Once the dough has doubled in size go around the bowl lifting the dough away from the edges and split in half. I just eyeball it in the bowl and rip away half of it. Throw down on the counter (can have a little flour on the counter to eliminate anything sticking, but I often find the little oil from the bowl keeps it from sticking too bad). Work quickly and press it out into a flat circle working out any air bubbles. Then roll it going lengthwise and lightly squish/tap in the ends towards the center so that it is the length of your bread pan.
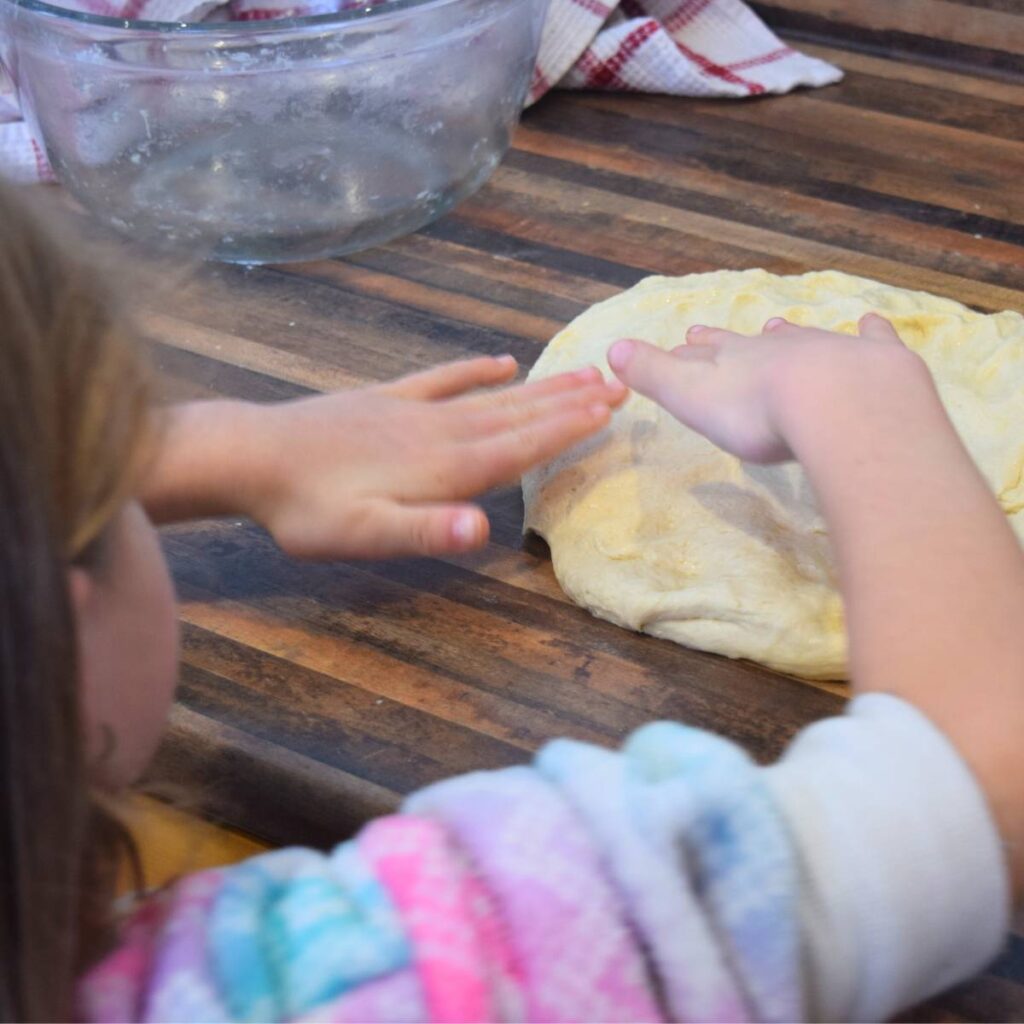
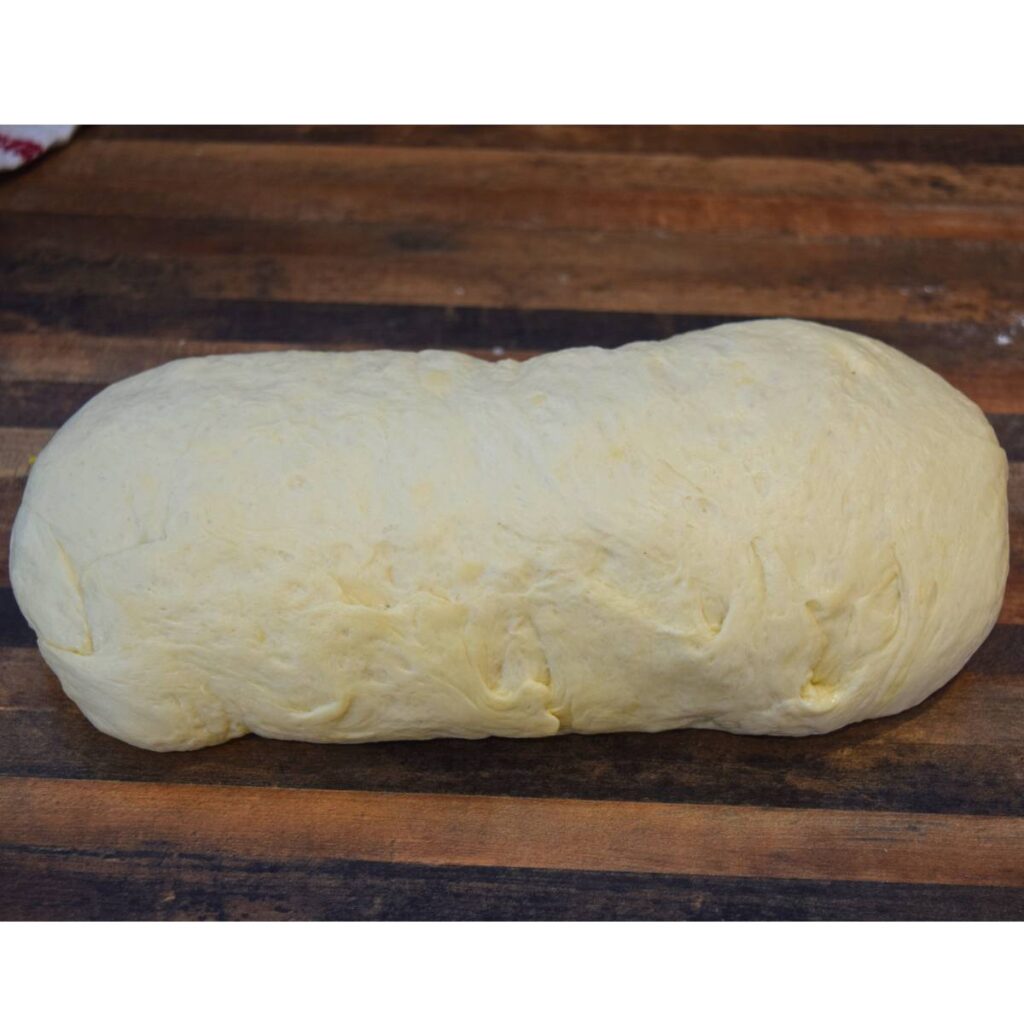
Repeat for the second half in the bowl.
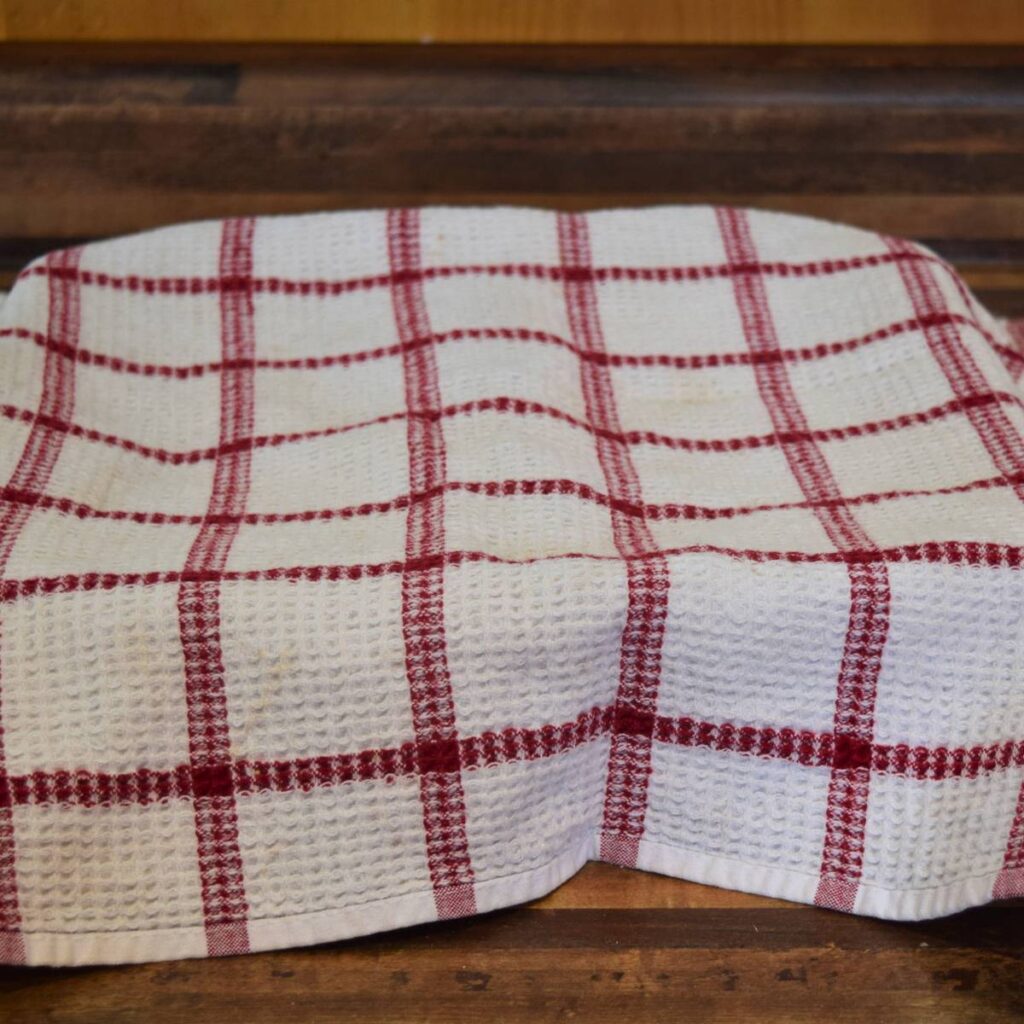
Cover again with your dishtowel and let it rise in the pans for 30-45 mins. Again about double in size.
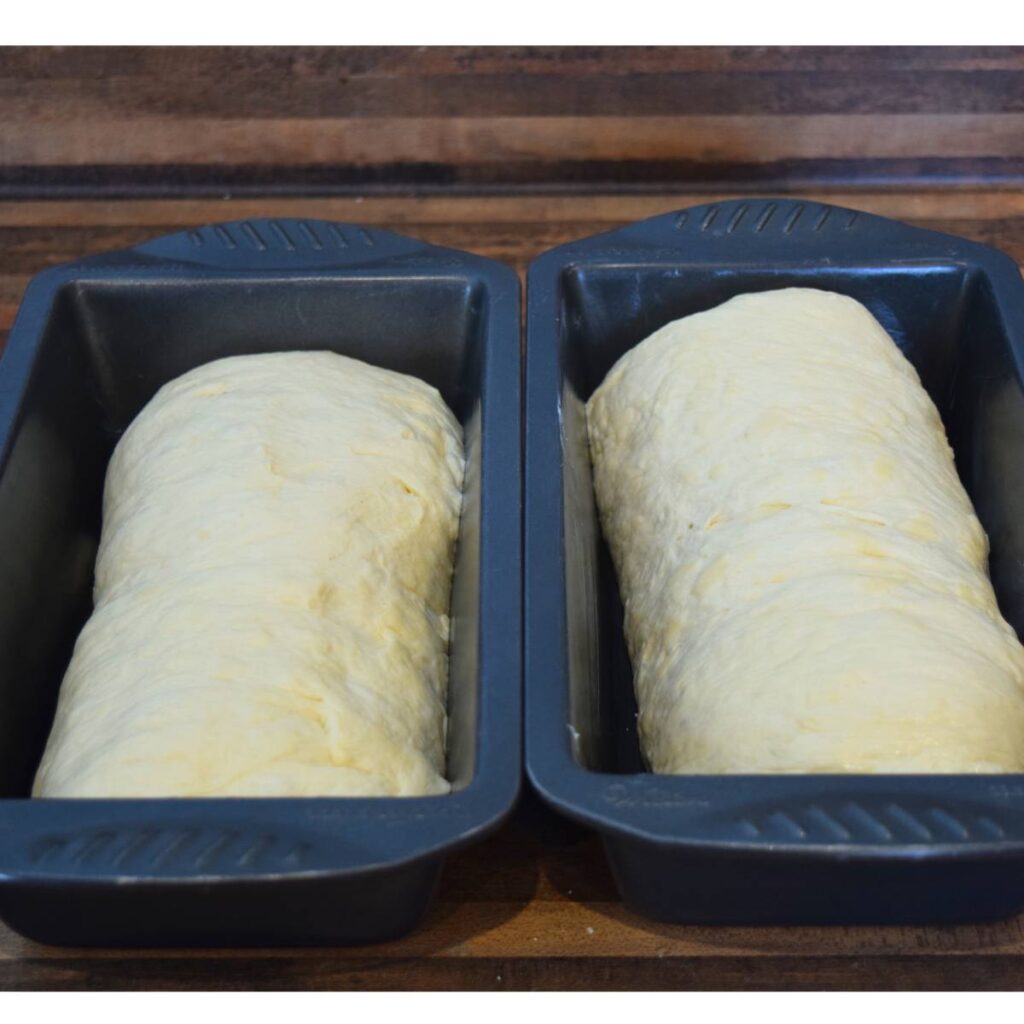
Preheat your oven to 375F
Once your second rise is complete, remove towel and pop into the oven with spacing in between the loaf pans and the side walls and bake for 30 minutes.
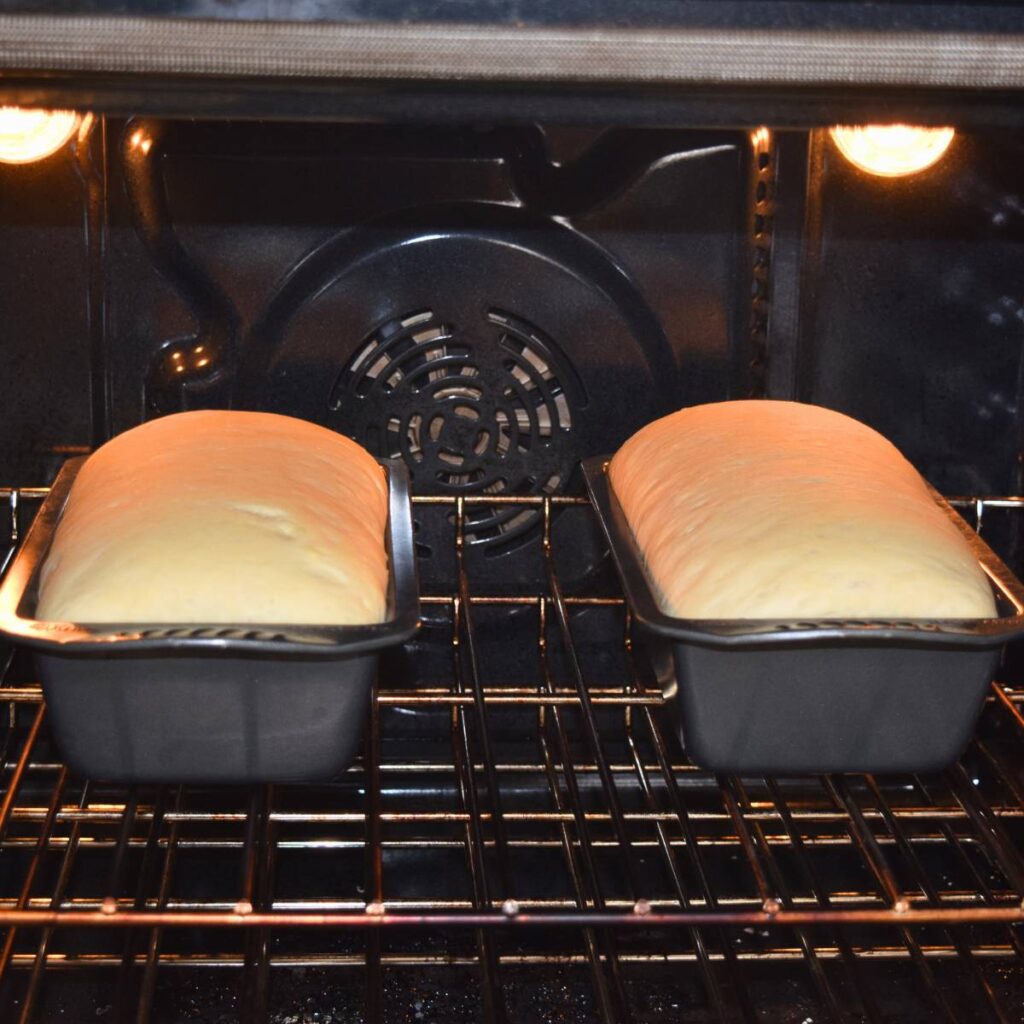
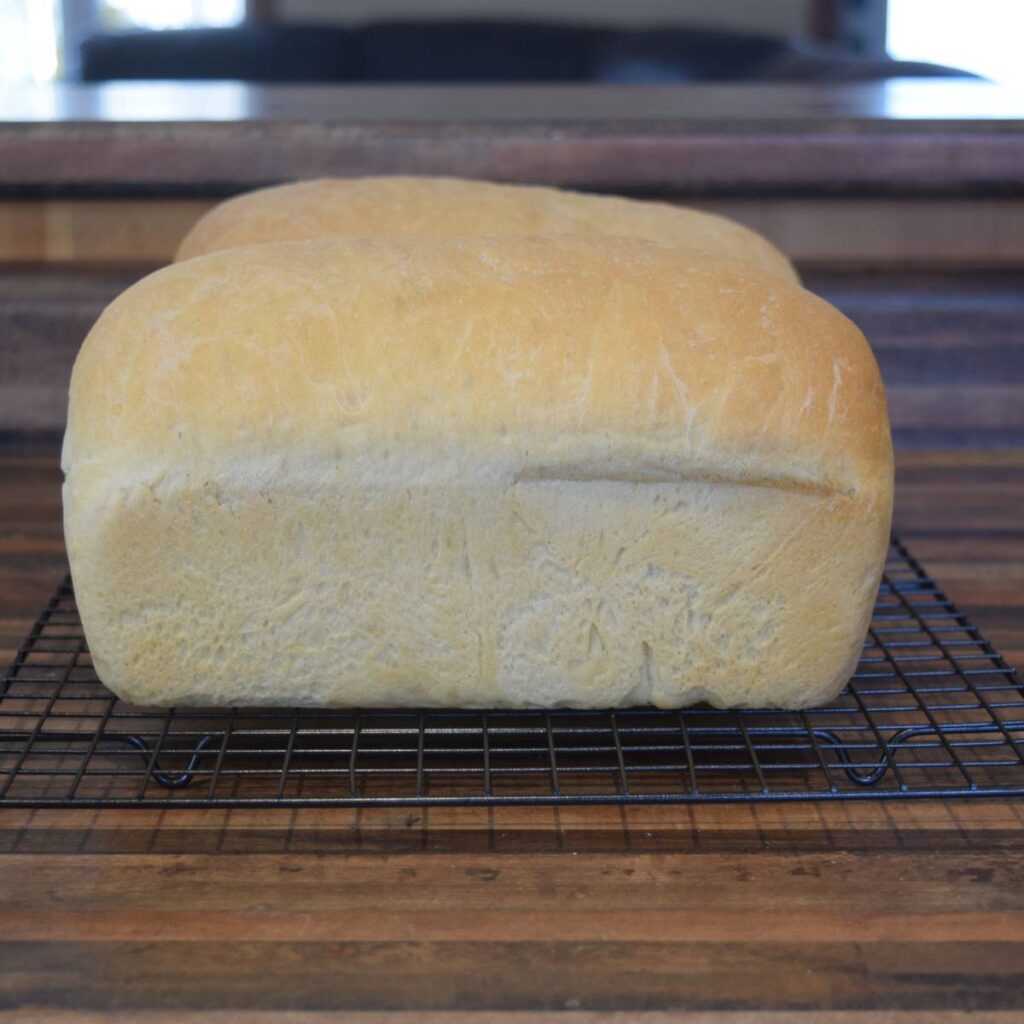
After 30 mins flip out onto a cooling rack and let cool for at least 10 minutes before cutting in! I recommend even 20 minutes but we can never wait that long!
Now enjoy your very own Super Simple Homemade White Bread!
* Tip for cleaning up, do not wash any leftover dough down the sink! I always wipe out my bowl and spoon with a wet papertowl. Trust me your pipes and handyman will thank you!
*Tip for cutting, don’t cut too thick and once you get about halfway down the slice use your index finger from your hand holding the load to hold the top in place until the slice is finished to the bottom so it doesn’t curl over and break.
*Tip for buttering. Let the butter sit for a minute when it’s warm before spreading so you don’t rip the bread. Homemade bread is a little more delicate/crumbly than store bought.
*Ziploc XL bags are my favorite for storage bags.
Super Simple Homemade White Bread
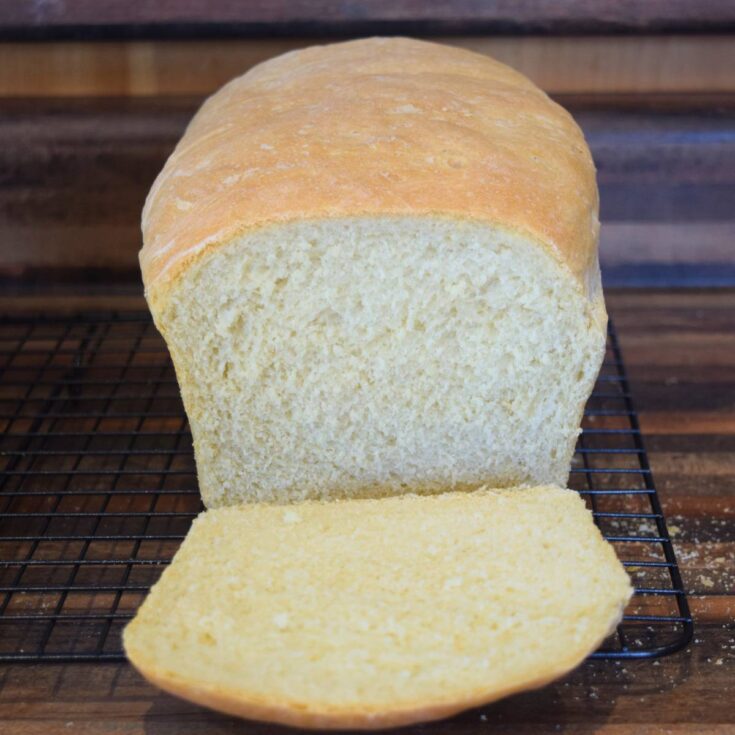
This Super Simple Homemade White Bread can be ready in under 2 hours and with minimal ingredients.
Ingredients
- 3 Tbs Butter
- 1.5 Tbs Sugar
- 3 Cups Warm Water (Not Hot)
- 1.5 Tbs Quick Rising Yeast (See above for times if using traditional)
- 1 Tbs Salt
- 7-7.5 Cups All Purpose Flour
Instructions
- Super Simple Homemade White BreadMelt the butter in large microwave safe bowl
- Stir in sugar until dissolved.
- Add warm water and stir to mix together.
- Stir in yeast and let bloom. Should look nice and frothy after about 10-15 minutes (depending on room temperature)
- Add salt and flour and mix together to create a shaggy dough.
- Knead dough by hand or in mixer until shaggy dough becomes a nice smooth, somewhat sticky dough ball. See above for notes on getting desired consistency.
- Remove dough while you grease the bowl with olive oil. (I use one hand to hold the dough and one hand to pour and grease but you can also put down on a lightly floured counter). Place dough ball back in the bowl and cover with a dishtowel. Let rise for 30 minutes or until about double in size.
- Grease 2 bread pans with butter or spray.
- Go around the dough bowl lifting the dough away from the sides to reduce air bubbles and then split in half.
- Take first half and put down on the counter (can flour to reduce sticking) and push out into a circle, again pushing out any air bubbles, then roll into a cylinder shape, pushing slightly in on the ends once rolled to ensure it will fit in the loaf pans. Place in pan seam side down and repeat for second half.
- Cover loaves with dishtowel and rise again for 30 minutes or almost double in size.
- Preheat oven to 375F
- Once second rise is complete remove dishtowel and bake for 30 minutes
- Remove from the pans onto cooling rack and let cool before slicing. Enjoy 🙂

Hi, this is a comment.
To get started with moderating, editing, and deleting comments, please visit the Comments screen in the dashboard.
Commenter avatars come from Gravatar.